By Sarah Dickerson
A fresh and modern studio space has been in the works at my apartment, and I am happy to say that everything is starting to fall into place, slowly but beautifully. I have been taking my time and trying not to rush the process too much because I want to ensure that the end result looks fantastic and feels cheerful and cozy. Even though I would love nothing more than to do a little Bewitched nose wiggle and have the entire room polished up and magazine ready! Who wouldn’t though, right?
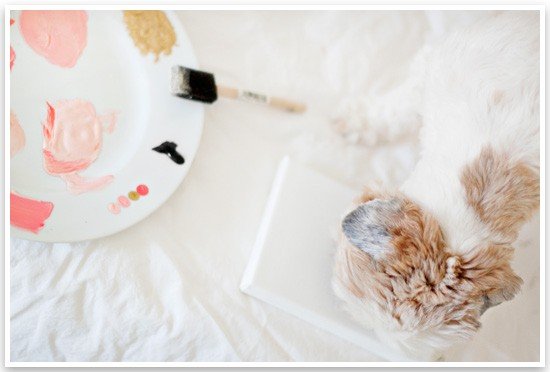
I’ve turned to lots of other blogs and magazine features for inspiration and have fallen in love with so many of them. Of course I want to be ‘in’ with the current trends, but for me, it’s also important that the items in my new workspace have meaning, memories, and represent who I am and my little family as well. The space can’t all be one big clone of a room found on pinterest. It’s great to have a balanced mixture. Coco Bean and I had a little painting party and designed some of our own custom prints. Literally, paw prints! I’m thrilled to share our project with you today. Let’s get started!
You’ll Need:
- Paper of your choice (I recommend a thicker weight)
- Paint brush
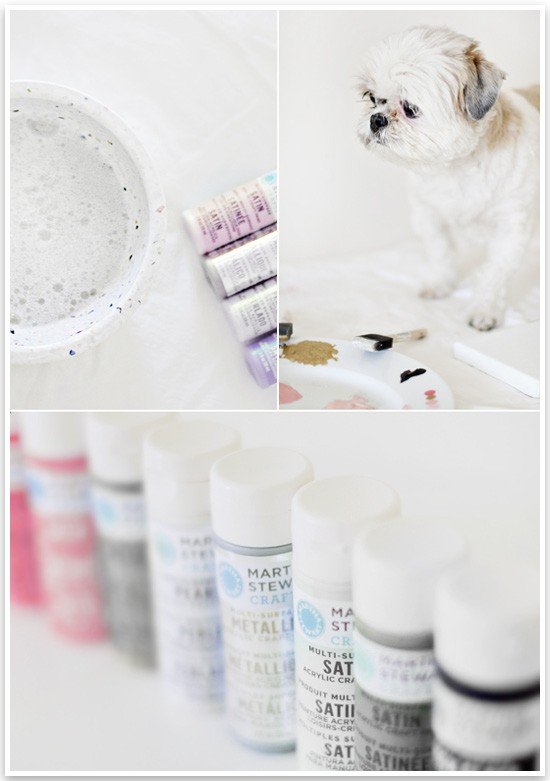
- Non-toxic washable paint (I used Martha Stewart’s Craft Paint)
- Fine tip ink pen
- Frame
- And of course your dog!
Handy Prepping Tips:
- Paint and dogs… Who else can see this mess coming from a mile away?? To prevent a Doggy-Picasso painted apartment, it would be wise to spread out an old sheet to protect your floors and furniture, or opt for the grassy outdoors.
- Have a bowl filled with a hint of dish soap and warm water ready to wash off those little paws. The Martha Stewart paint washed off of Coco’s paw in seconds. That made for an easy clean up!
- Having a towel handy to dry off the clean paws was helpful. If you’re outside air drying is always an option too!
The Tutorial:
1. Choose the paint color you want your paw print to be. I had a hard time deciding, so Coco and I practiced with a few different colors before we landed on black. That is what is great about this DIY, the options are endless!
2. Take the paintbrush and carefully paint your dog’s paw pad. If your dog has ticklish paws, you may need an extra set of hands!
3. Gently press you dogs paw onto the designated paper. Press and hold for a couple of seconds and try to lift the paw straight up to ensure zero smudging. Let the paw print dry for a about 10 minutes.
4. While that is drying, wash your dogs paw in the soapy water. Towel dry any excess water.
5. Once the paw print is dry you can use a fine tip ink pen to write their name and age underneath.
6. Frame and hang!
For the families with young puppies: this would be a great project to revisit throughout the year. It would be and extra special keepsake to have your puppy’s first year of growing documented into a work of art with their age written under each paw print.
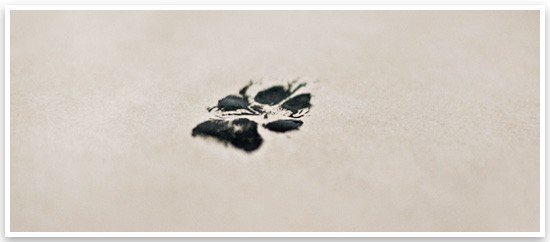
Not every paw print will turn out perfect, but I think that is what makes it special and unique. You can see that in Coco’s paw print her hair also made some ink marks, making it look like it came from a wild animal, which is kind of awesome. She’s pretty wild sometimes, so it’s a perfect reflection!
The end result is a wonderful touch for any room in your house that you can cherish forever. I hope you enjoyed our DIY project and have the opportunity to make some paw prints with your own pretty fluffy at home. We would love to see some of your finished pieces. Have fun!
Sarah xx
AUTHOR: Sarah Dickerson is a visual designer and photographer from the Midwest who loves animals, all things English, rainy nights, cozy backyard gatherings, twinkling lights, and festive weddings. To see more of her work, visit her website and blog, Chic Sprinkles.
Want to give this DIY a try? Share your Paw Print Wall Art with us! Simply upload a photo of your Paw Print onto the Pretty Fluffy Facebook Page or send it to serena@prettyfluffy.com to be featured. Have fun!


